
Acquiring and maintaining a proper grip on your handgun is essential for marksmanship – both prior to and after the shot – and manipulations, the ability to operate the pistol efficiently. Some pistols are too “slick,” not enough tooth to provide the proper grip. Others have grip surfaces that are too aggressive; after a little shooting your hand feels like it’s been tightly holding onto a bucking cheese grater. But, fear not, there is hope - stippling. And it’s often a project that can be done at home.
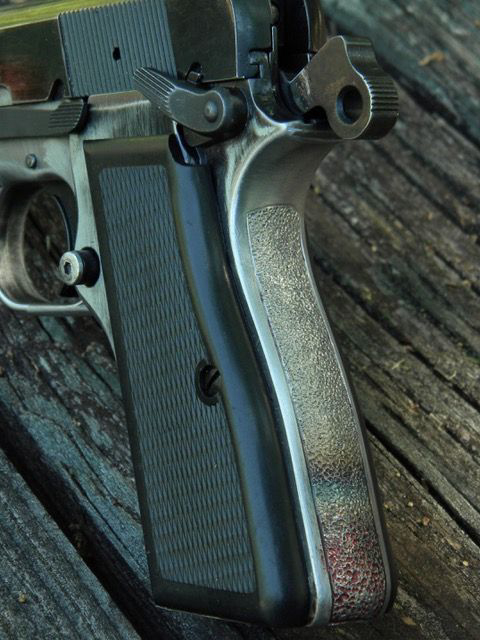
Stippling is the process of creating patterns through a series of small dots or divots. Smooth finishes can be stippled, adding texture to provide additional traction or grip. A rough, aggressive area can be stippled in order to reduce the coarseness.
There are a variety of methods for stippling. The material you’re working with dictates the tools and techniques employed. There are three methods I use. A vibrating engraver works well on metal. Yes, everyone has seen firearms with names and such hogged into firearms with one of these tools – they’re often called the “devil’s paintbrush” of the shop. But, if you can’t afford an expensive air tool, or the time required to become proficient, the cheap “engravers” work well. With practice and proper technique you can produce “professional” results. (You can stipple the old school way with a hammer and punch but my hands and arms can’t hold up to long sessions of this anymore.).
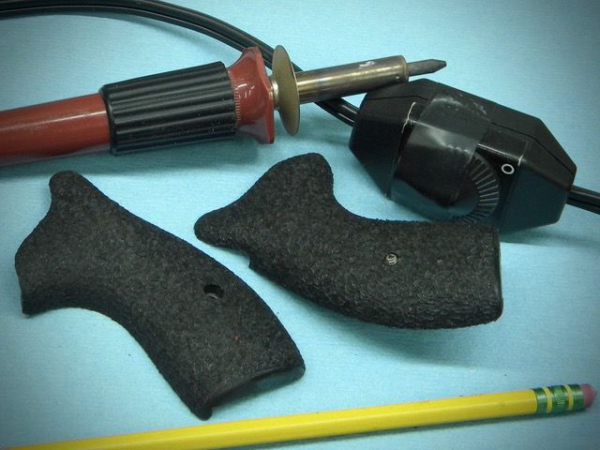
With most plastics, heat is used. I have an extra powerful soldering iron – the more wattage the better – with interchangeable tips. Wood burners also work, but get one “hot” enough that you’re not having to sit around waiting for it to reheat while stippling. I start with the borders, laying out the lines, then fill in from there. The danger here is melting the material, burning too large a dot, damaging the grip of your pistol by punching a hole through it or working in one area too long and causing it to warp or lose shape.
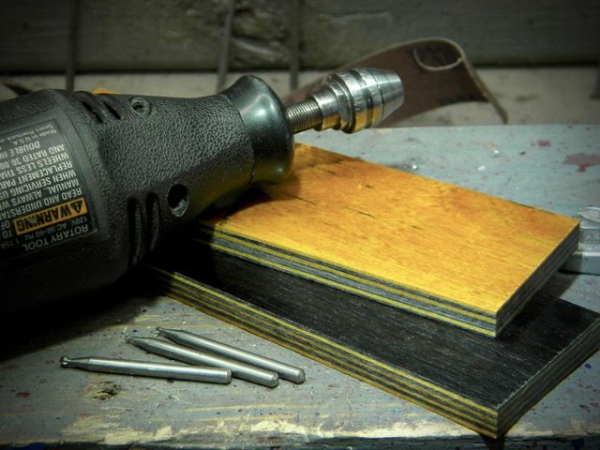
I use a lot of G10 for custom knives, and some customers want stippled scales – “grips.” This is a hard “plastic” – a composite laminate of epoxy and fiberglass. It takes a lot of heat to melt, and the engraver will just crack and break it apart. For this I use a rotary tool with a carbide bit. Again, it’s all about making a series of dots.
With stippling the goal is for the texture to look inconsistent. Watch for accidental patterns. Make sure to rotate the work constantly, varying your angle of attack as opposed to working everything from only one direction. Always wear the proper safety equipment, protect those eyes, wear a mask – this is one time it’s cool – plus ear protection if needed. Make sure you’re working in a well-ventilated area. Metal and phenolic resins create dust; applying heat to plastics creates smoke and fumes.
Before attempting to stipple your firearm be sure to experiment on other materials that are similar to your project. Practice until you’re satisfied with the results. Then, jump into the deep end. The only way to learn is by doing.
Tiger McKee is director of Shootrite Firearms Academy. He is the author of The Book of Two Guns, AR-15 Skills and Drills, has a regular column in American Handgunner and makes some cool knives and custom revolvers. Visit Shootrite’s Facebook page for other details.