
The last few weeks we’ve been talking about the why’s and when’s of shooting plus, what type caliber is “best.” It’s also important to know where to place the hits to stop the threat(s). The human body can take a lot of punishment and continue to function. Accurate hits in the proper location goes a long way towards ending the confrontation as efficiently as possible.
Using the firearm is the last option on our list when responding to a threat. Avoidance and escape are first. You’re also moving to create distance, issuing verbal commands in hopes that the threat(s) will respond – the psychological stop – and taking advantage of the protection that cover provides. If none of this produces the required results – either you leave or the threat breaks contact – or, the suddenness of the attack doesn’t leave time for any other options, you’re forced to shoot.
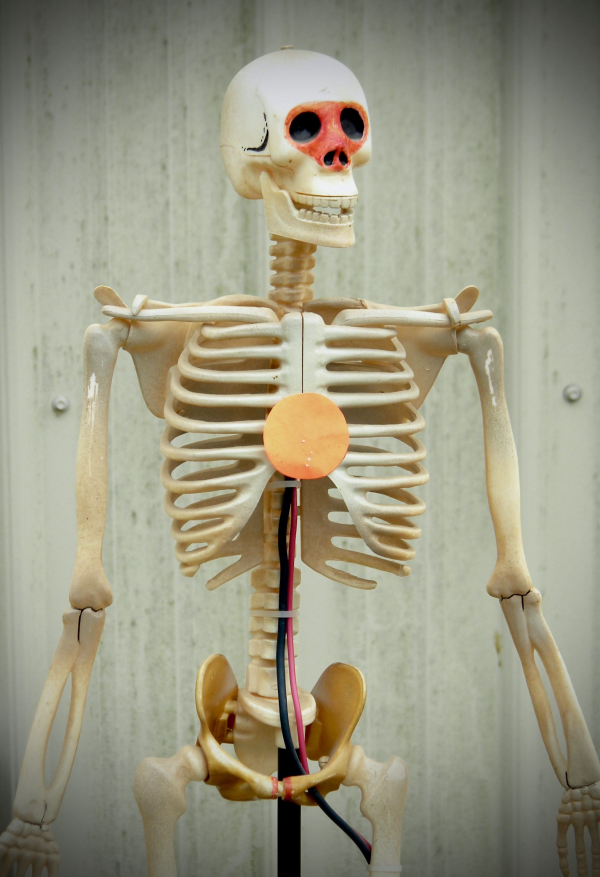
There are three zones of the body we concentrate on when firing. The “head shot,” center mass of the chest and last, but certainly not least, the pelvic area. A well-placed shot to the head provides immediate incapacitation. “Well-placed” being mandatory. From the front this requires placing the hit in the ocular cavity, the small triangular area between the nose and eyes. Close enough isn’t always sufficient; peripheral hits are often deflected and never penetrate into the skull's cavity. Even under ideal conditions this is a difficult shot, and especially if both you and the threat are moving. Head shots are for special conditions. Either you need the immediate stop it provides or it’s the only shot available.
Center mass of the chest is where all the “good stuff” is located, the heart and major blood vessels. The problem is that none of these goodies are large, and they are protected by natural body armor. There are numerous shootings where the threat received a “terminal” hit in the heart but kept fighting for a few minutes.
Given the opportunity, the pelvic girdle is the first place to engage. Just about everyone who is shot in the pelvis ends up on the ground. Take away their mobility and it’s easier for you to escape. The pelvis is a large target and you can fire at a lower angle, which is an advantage in crowded and urban areas. Plus, there are a lot of goodies located in the pelvis like blood vessels, joints and nerve bundles. And, if the threat is wearing body armor -- which is showing up more on the street, most of it doesn’t protect the pelvic girdle.
Once forced to fire, you don’t stop until achieving the desired results. Again, your mission is to break contact and move to a location that’s safe -- or at least easier to defend if things escalate. During self-defense shootings the number of rounds most often fired is three to four. One shot stops with pistols are rare. After two or three shots, if you’re not seeing the desired results shift and engage one of the other areas of the body. Also, remember the threat will be standing at an angle, and most likely moving. Apply the term “center of mass” to whatever part of the body you’re engaging. With this in mind, your practice should include working with three-dimensional targets, instead of the flat 2-D targets normally used on the range. Practice regularly, and always carry modern, defense ammunition.
Shooting another human is a difficult thing. But, when all other options have been exhausted, using the firearm is the most efficient way to stop the attack. Make sure when the time comes you’re well prepared, which will ensure efficiency.
Tiger McKee is director of Shootrite Firearms Academy. He is the author of The Book of Two Guns, AR-15 Skills and Drills, has a regular column in American Handgunner and makes some cool knives and custom revolvers. www.shootrite.org or visit Shootrite’s Facebook page for other details.