
From the Thursday installment – “Safety Briefing Time – Again” – I explored the phenomenon of people “practicing quick draw” using each other for targets and for someone against who to draw. This lead to serious injuries, even death.
From the time we go to the academy (in law enforcement service) there’s someone telling us to practice the draw in front of a mirror. Some wag in the basic class will note that “you pass when you beat your reflection to the draw.”
Too many times, Rule 1 goes by the wayside and another hapless mirror bites the dust. Besides, looking at yourself in real time, while you’re busy learning a motor skill, you can miss seeing legitimate problems with your draw.
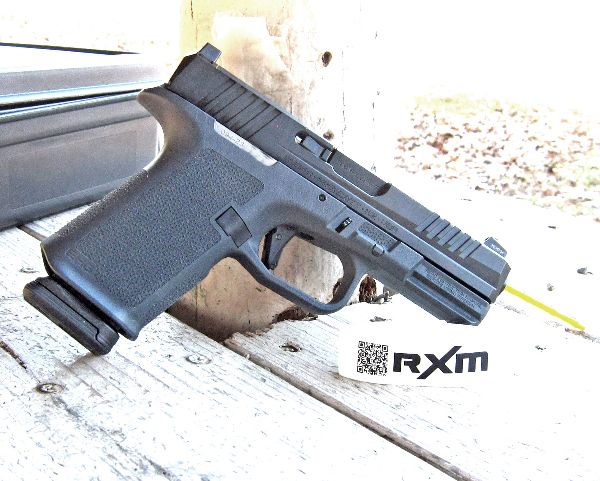
Take that gun – with or without ammunition – along with one of the “action cams” or use your phone, with a tripod, and get yourself on video practicing the draw. You can examine the footage at leisure, you can set the camera to get various view and angles on your practice and, if a round somehow enters the weapon’s chamber, there’s a safe direction for the bullet to go.

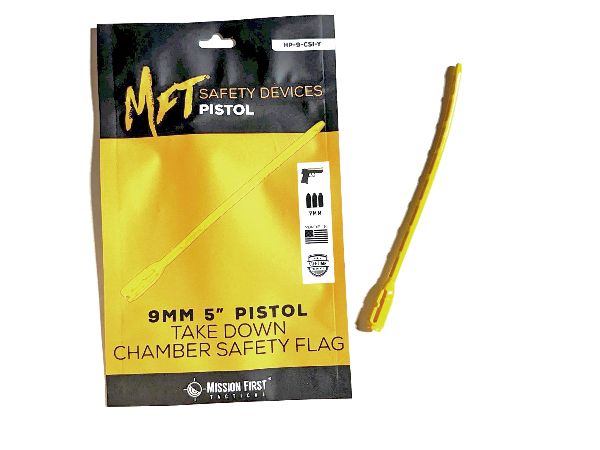
Another method is to use a dummy gun or put a chamber block in the gun. One is example is from Mission First Tactical -- MFT. Their MFT 9mm Take Down Chamber Safety Flag Insert fills the chamber, preventing a loaded round from intruding. It also protrudes from the muzzle, giving a visual indicator that the gun’s chamber cannot be loaded.
Still, I’d use the video recording device, not a mirror nor another person. It’s habit and going to extremes to prevent personal injuries is no vice.
This particular “safety flag insert” is a bright yellow polymer device that protrudes from the muzzle – a chamber flag with the pistol in battery. That’s handy in a range of scenarios, including at the range or when engaging in dry practice.
It doesn’t just come out without some finessing. To reload the gun, it takes some effort which is more likely to defeat the tendency to “try one more press” after reloading the pistol from dry practice. That alone is worth the price of the unit.
Fitting any 9mm auto pistol with a barrel length as long as five inches, it’s installed without disassembly; take the magazine out (good habit), lock the slide open and thread the flag portion into the chamber and out the muzzle. Gently pull the flag to ensure the block is in the chamber.
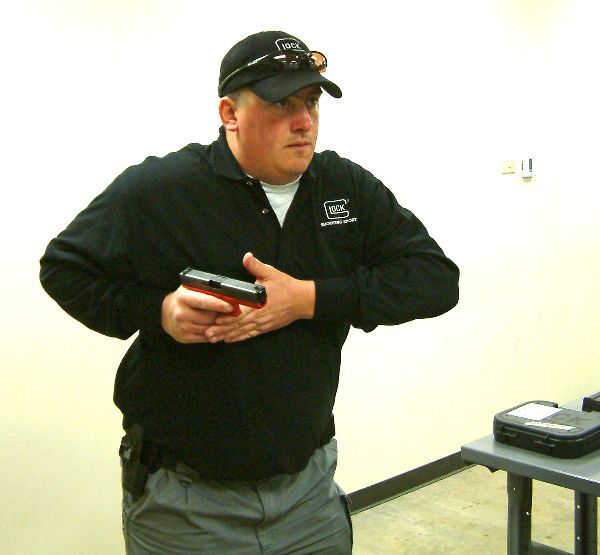
Another consideration for practice in drawing a gun is not ending with a “click” every time you draw. If you’re in a situation where every draw results in a trigger press – that’s a problem. You’ll likely draw the gun a few thousand times with no need to shoot for each time where shooting could be appropriate – thankfully. For that reason, why not draw to low ready? That’s very relevant practice – and the muzzle is driven to the safest available direction with finger off the trigger, but the gun’s out and ready, if needed.
Work on doing a few thousand of those; you know when you get to the range, every draw will result in loud noises – unless you practice drawing to guard and verbalizing (“Get away from me! Drop the knife!” – or whatever.)
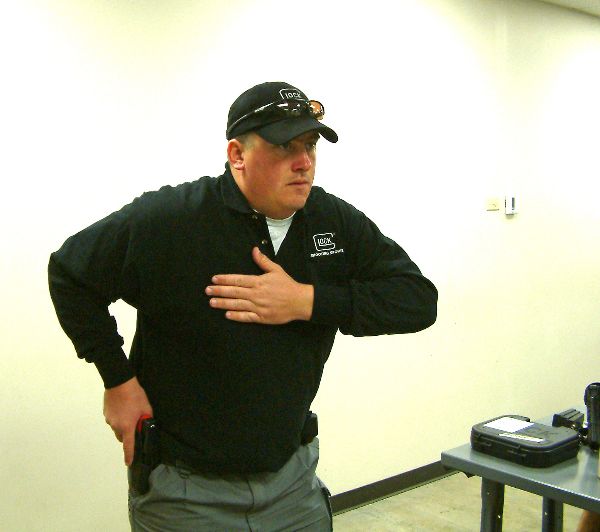
Why not work on getting the GRIP part of the draw ironed out? The longest time in the presentation is getting a firing grip on the gun while it’s in the holster. GRIP includes defeating retention aspects of the rig, and it’s followed by ensuring the gun arrived in the eye-target line. If you cut out the time taken to get the grip on the gun – and keep the gun holstered – the amount of time getting the gun out and in line to shoot has been cut way down.
As a “ready” position, the “hand on holstered handgun” is potentially the best in many situations.
If you have a couple of people to work with, the “Behind the Curve” drill is handy. I found it helpful when we did the transition course between two vastly different handgun systems, with an accompanying change in holsters.
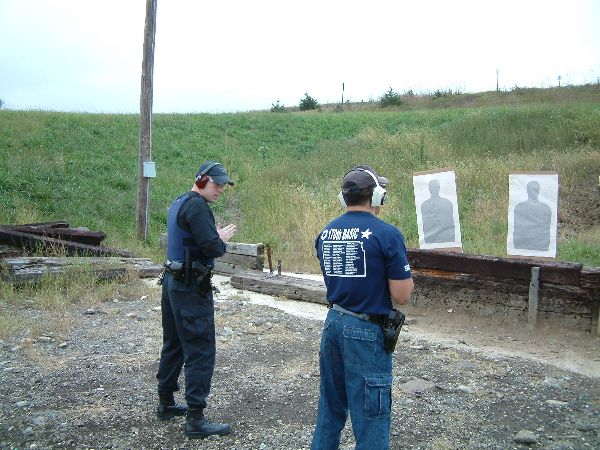
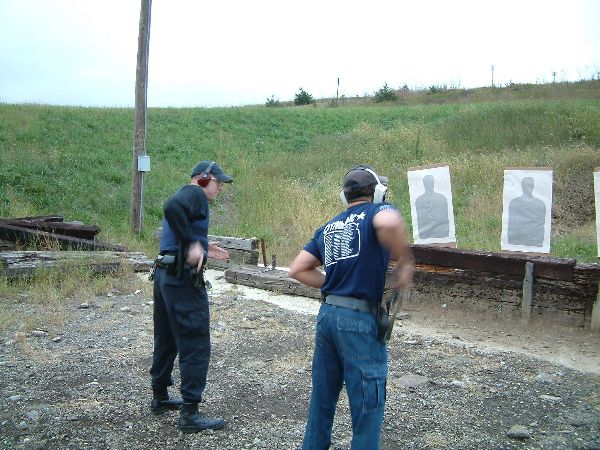
Have a pair of trainees side-by-side on a firing line, each facing a target of their own. One of them is appointed “offender,” the other “officer.” The “officer” watches the “offender” by turning head & eyes --while keeping his body square to his target. When the “offender” moves to draw and print a round on the “offender’s” target, the “officer” draws to hit the “officer” target as quickly as possible.
This accomplishes some tasks. One is to draw and fire on a visual stimulus. Another is that it’s a single hit drill.
The first solid hit “wins.” We all know “action beats reaction,” but if the “action” was a peripheral hit or a miss, then it doesn’t count. The “reactor” may actually “win” the encounter.
More importantly, if done immediately after “singles from the holster” drills to get people used to dealing with the new equipment, the desire to “beat” the other to the hit fireforms that draw procedure and makes it solid.
Within 5 – 10 repetitions, the “officer” is catching up to the “offender.” Stop them to allow them to manage ammo and mark the targets so they can trade roles.
These are just a few ways to work on the draw. Make use of safe practice of presentation and avoid the “quick draw contest” and “mirror manslaughter.”
– Rich Grassi